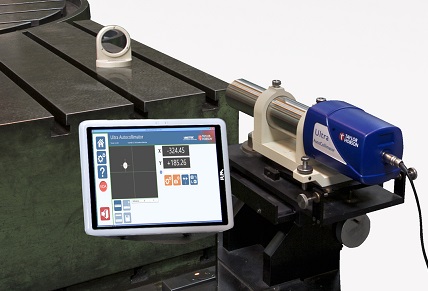
Autocollimator proves the ideal tool for high accuracy slideway straightness

HIgh accuracy slideway straightness using autocollimator
Increasing demand for ultra high accuracy in slideway straightness of equipment such as PCB machines has led to widespread use of the Taylor Hobson Ultra autocollimator in this type of application. The tried and tested method of using an autocollimator to measure the straightness, squareness and parallelism of a machine tool has been around for many years and the Ultra autocollimators high accuracy makes it ideally suited to this industry. The system can also be connected to software packages for analysis of a machine slide.

Straightness measurement using autocollimator
Using a reflector (on a carriage) and dual axis autocollimator (Taylor Hobson Ultra autocollimator), up to 200 measuring steps can be taken for straightness checking, moving the reflector carriage along the slideway in equidistant steps. Any out-of-straightness in either of the two slideway surfaces X and Y (side and top of the slide) will cause the reflector carriage to change angle with respect to the autocollimator, and it is these changes which are measured and computed to determine the errors in straightness. The results are displayed in both tabular and graphical form - deviations from straightness in both axes are given in relation to either a least squares line or ends zero.
Other applications include checking straightness and the movement of spindles on slicing/dicing machines, or, using the Taylor Hobson Talyvel electronic level, twist on the two rails can also be measured. Straightness and squareness of the machines used for PCB vision inspection can also be carried out with speed and high accuracy using an optical square.
